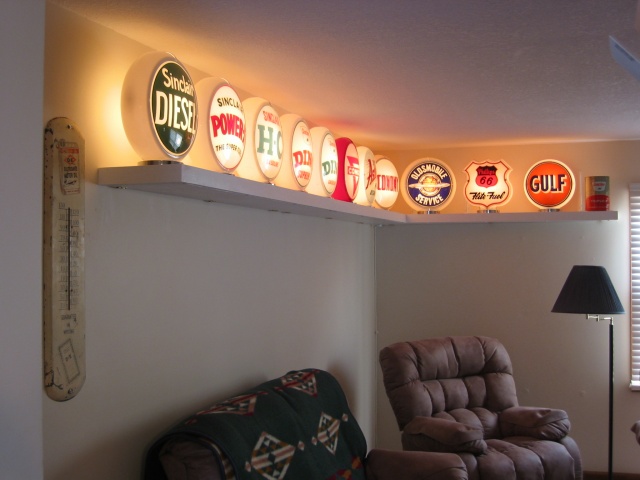
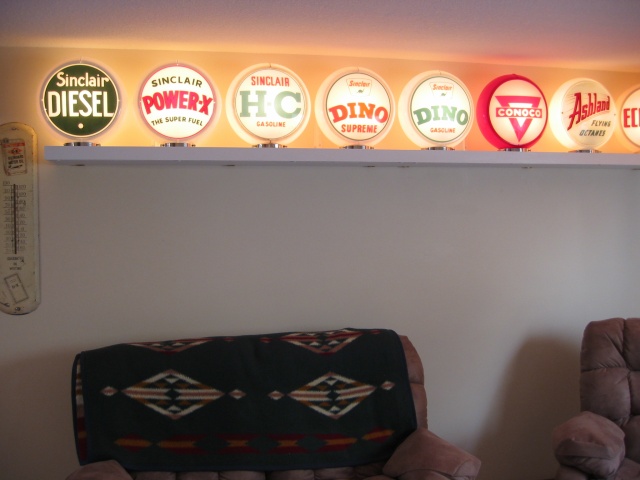
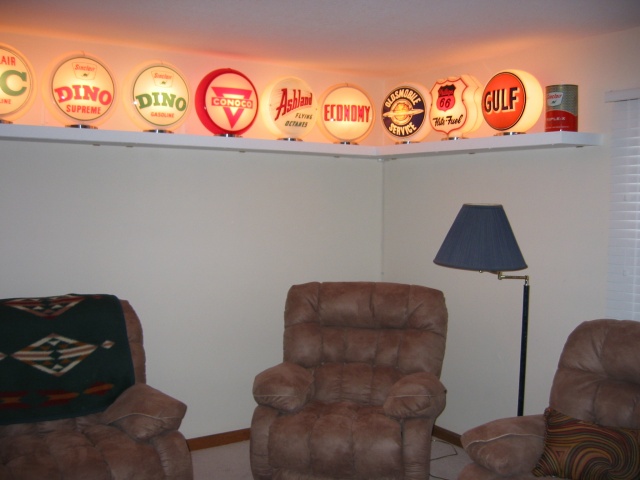
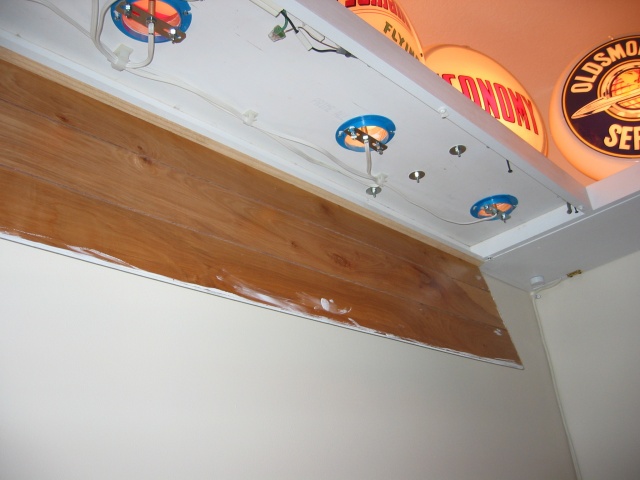
Here's a shot of part of mine.

I wanted my shelves to be deep to help protect the globes from accidently getting bumped into.
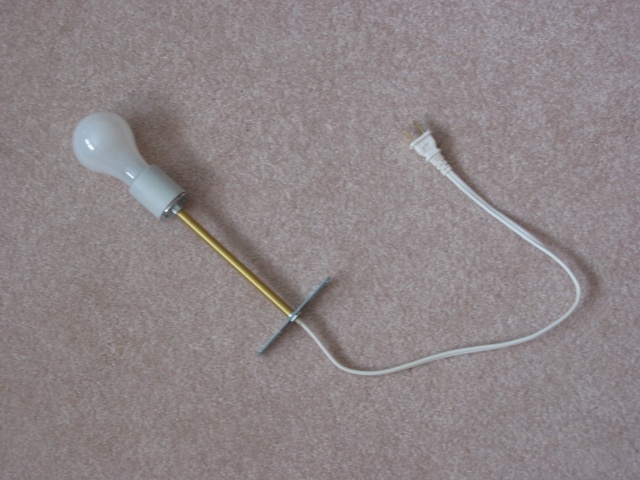
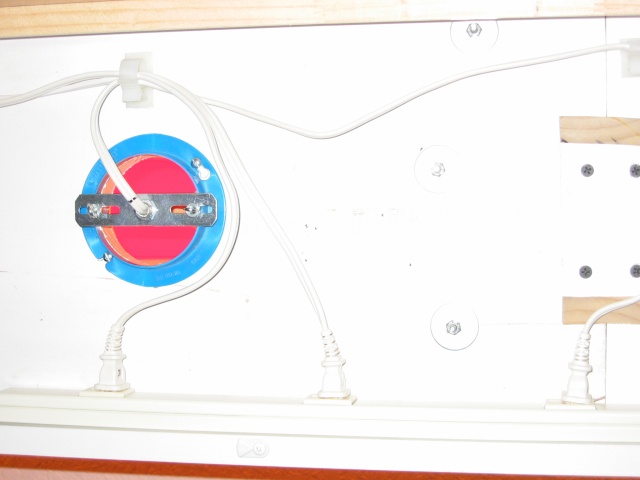
I used standards and seperate brackets. For the shelves themselves I used two layers 1X6's and 1X12's. The bottom layer has the 1X6 in back and the 1X12 in front. The top layer is staggered in that the 1X12 is in back and the 1X6 in front. I plowed a channel in the bottom side of the top 1X12 for the wiring to run in. After figuring out the spacing I drilled holes for the wiring for each of the 26 fixtures. For the wiring iteslf I used 12 gauge drop cord. I mounted 1/2" deep junction boxes to the shelves, then wove the wire up into the first box, then back down into the channel and over to the next box. I left enough slack sticking up at each box to make the electrical connections to the fixture. Next, I mounted my globe rings. Then I used simple porcelain light fixtures like you might find in an unfinished basement.
Each row of globes is on its own switch, but they are on the same circuit since 26 light bulbs don't draw very much current.
I'm very happy with this set up with one exception. Capco globes qon't clear the porcelain light fixtures. If I were to do it over I would use the smaller diameter junction boxes and light fixtures. They are harder to find, but they are available.
I've experimented with different wattage bulbs. Most of my globes have frosted 26 watt bulbs. A few have 41 watt bulbs. I've tried the small diameter flood bulbs. They don't last very long. I figured clear bulbs would bring the lolors out better. They do to an extent, but the filiment can cast a shadow on the lens making you think the Jarvis Jinx has struck. I've tried the cool white screw in flourescent bulbs. They looked ok in metal body globes but looked terrible in glass body globes. I haven't tried st soft white flourescents yet. I suspect I'll like them better.
[This message has been edited by Lastgas15 (edited 07-28-2007).]