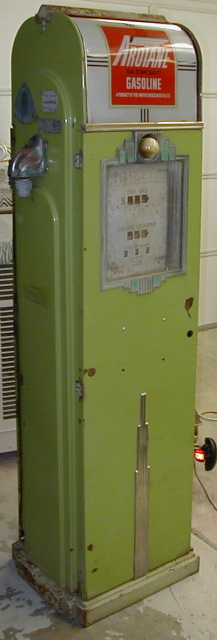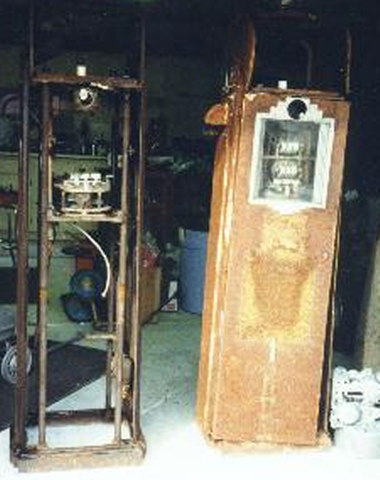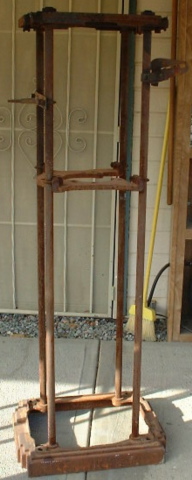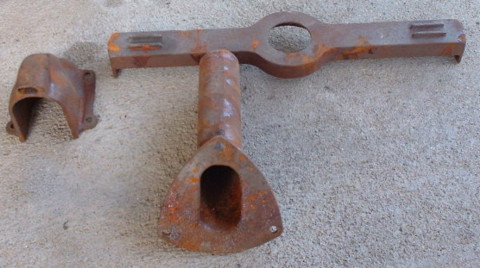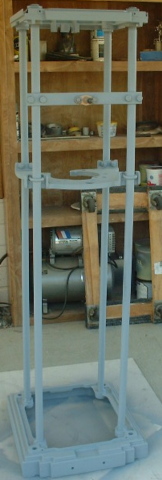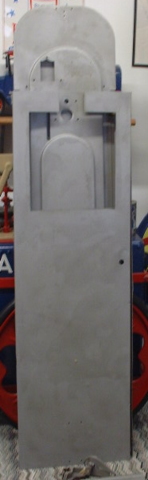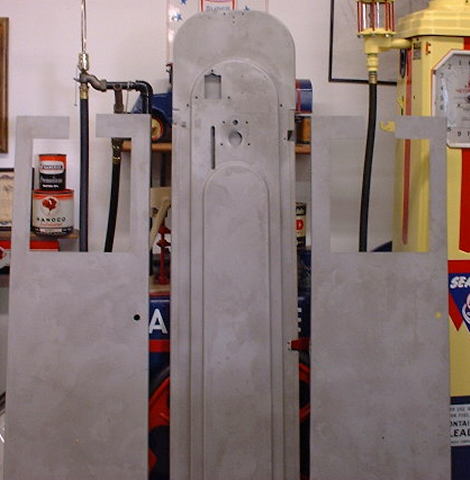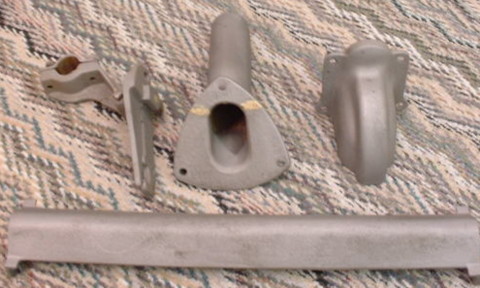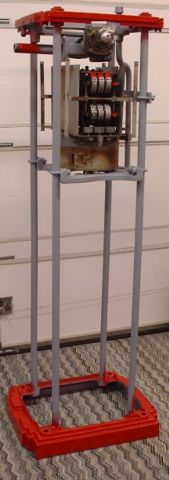
7. Once I get all this back from the blaster, I prime with cheap rattle paint cans the frame, base, manifolds, light bar. Then I paint the base. Now with this pump I'm using three bases that will be bolted together, so I've drilled holes in this base so the hose is on the outside. I've put all the skins inside for now. The next base will be drilled same measurements but both sides. Then the base for the right side and hose on the outside again will be drilled on the left side. But this is for a double showcase.
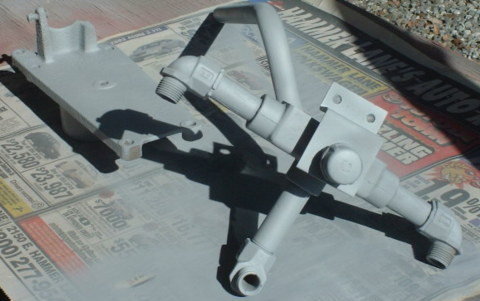
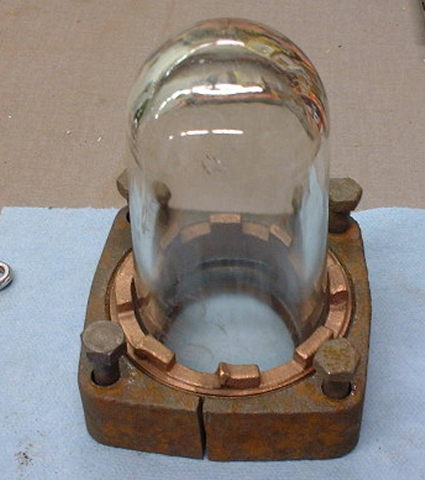
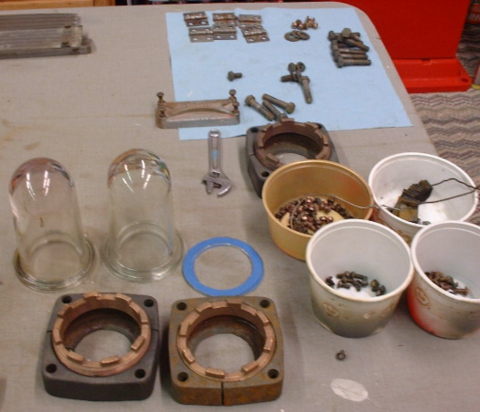
8. I clean the sight glass with Comet and a green scratch pad. All my small parts, nuts, bolts, machine screws , sight glass keepers, hinges, I soak in Real Lemon juice to remove the rust. There are other products that will do the job also. I leave them for 24 hours, but if they're real bad I leave them longer. Then I wire brush them and rinse them in water. Once dried, I lay them out on a paper towel on an old card table.
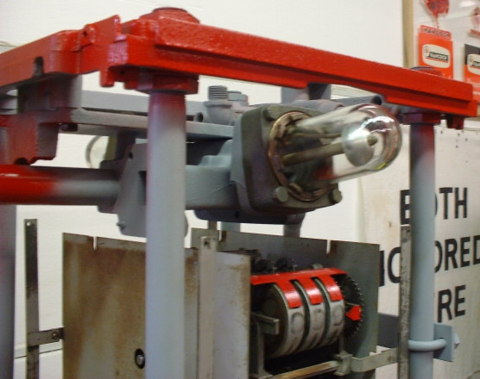
9. Put your sight glass assembly back in place and assemble it. The older pumps used not only tar to seal the wires from water, but cotton packing. You must get all this out using ice pick or probe, or anything to remove all this and the old wire. I'm having to replace all the sockets on this pump. I got them from Gas Pump Heaven. I'm also using red and black 12 /14 gauge wire and heavy duty toggle switches. Once the wiring is complete, it's time for the skins.
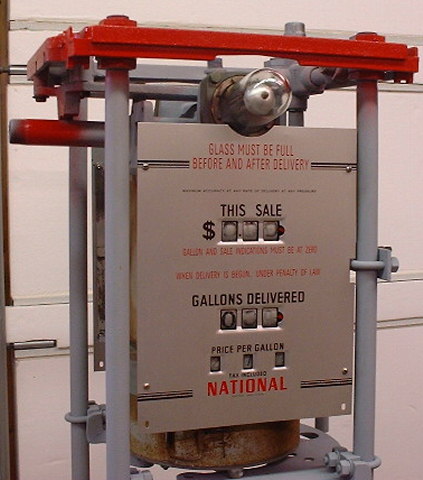
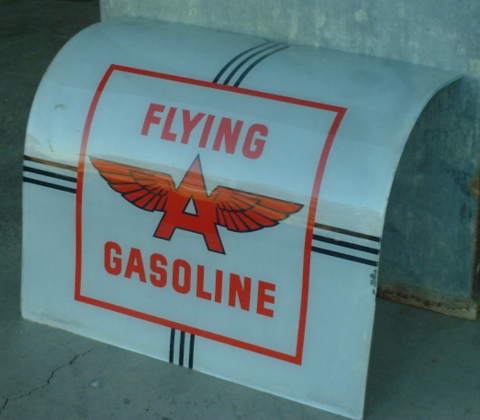
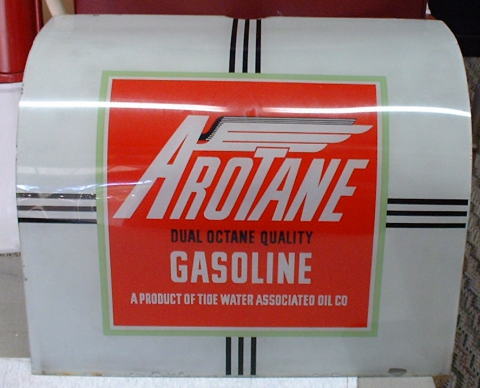
10. Some builders put the skins on first to make sure everything fits. On my pumps I drill out all the threads for the machine screws that hold the skins in place, so I use nuts. It's faster and stronger then re-threading for the screws. It has sat around for years rusting so I don't trust the old threads after they have been re-threaded.
11. Painting the skins. I don't have a problem using shake can primer to do the skins if the skins are smooth and straight. If they're dented or pitted bad, I use a primer filler. Or you can take them to an auto body paint shop and have the body work done and primered. And there are a lot of different Primers I'm going to use Larry's way. I use Enamel paint. It takes longer to dry, like three days, but I'm in no hurry. Then I clear coat it, and there's different kinds of that also. If you use a clear coat base coat and a hardener, always use a respirator. There's guys on this site like Jim Potts, Larry Ivy, Morgan, Gary Drye, Jim Treadway and others who are experts at painting and have posted many times on the best and more costly way to paint. My way is just a inexpensive way of doing it for my budget.
12. Larry's way,
1. The clear uses a hardner/activator they will tell you which one when you get the clear. Only buy enough pint/halfpint to activate that one quart of clear. Once you activate, its hard. I dont use reducer ,but ANY high quality URETHANE reducer will work. They are based on temp. Fast, medium, slow. A very small amount is required. Most manufacturers use 4 parts clear, 1 part activator, 1 part reducer optional. As soon as i try some other brand that is cheaper ill let you know. PPG is good stuff but they are pricey.
2. The Valspar Primer is DTM200_? depending on what color, white, buff, grey, black. It uses halfpint activator to 1 qt. primer with reducer optional. If you want it as a primer surfacer, use 1 part reducer, If you want it to fill dont use the reducer, only activator.
3) The heavy fill is Marhyde High Fill. Same thing as above in buff color but sands ands fills easier. Remember these are urethanes, not old laquer primer, and when they dry, they are HARD as a whores heart, so sanding is a consideration.
3) You can clean your gun with HOME DEPOT lacquer thinner if you can buy it there. If not you need to say so and I can bring you a few gallons.Its $7 a gallon here. HVLP Gun = high volume low pressure, think about getting one.
13. After you've painted your pump assemble it,
jlgas Home of the largest Seaside collection
http://www.caltel.com/~jlgas/
[This message has been edited by Dwaine Buck (edited 11-07-2003).]